This 10-day Western Canada itinerary follows a realistic one-way route from Vancouver to Calgary, with Whistler, Wells Gray Provincial Park, Jasper, the Icefields Parkway, Lake Louise and Banff in between. It is designed for first-time visitors who want city time and mountain scenery without adding internal flights or trying to cross the whole country in one trip.
Table of Contents
10-day Canada itinerary at a glance
- Days 1–2: Vancouver
- Day 3: Sea-to-Sky Highway and Whistler
- Day 4: Whistler to Clearwater
- Day 5: Wells Gray Provincial Park to Jasper
- Day 6: Jasper National Park
- Day 7: Icefields Parkway
- Day 8: Lake Louise and the surrounding area
- Day 9: Banff National Park
- Day 10: Calgary and departure
Who this route suits
The itinerary works best as a one-way self-drive trip, arriving in Vancouver and departing from Calgary. It suits travellers comfortable with several long driving days and changing accommodation frequently. If you prefer rail travel, a single hotel base, winter driving, or a slower hiking-focused holiday, use the route as a planning framework and reduce the number of stops.
Check these details before booking
- Confirm entry requirements for your nationality through the Government of Canada.
- Check seasonal road, trail and wildfire conditions before committing to the mountain section.
- Use current Parks Canada information for Lake Louise and Moraine Lake access; transport and reservation arrangements can change.
- Book a one-way rental only after confirming the drop-off terms and the transport plan for every traveller.
- Leave flexibility for weather, construction and wildlife-related delays, especially on the Icefields Parkway.
Detailed Vancouver-to-Calgary itinerary
Day 1: Arrive in Vancouver and learn the shape of the city
Morning or afternoon: Arrive, transfer to your hotel and leave the rental car until Day 3 if your booking allows it. Downtown parking is not useful for this first section of the trip. After check-in, walk a short waterfront loop around Canada Place and Coal Harbour, or choose an equally simple route close to your hotel.
Evening: Eat near the hotel and prepare for the following day. If your flight arrives late, remove the walk rather than moving it to an already full Day 2.
Why the day is intentionally light: flight delays and jet lag are common itinerary constraints. A useful arrival day protects the rest of the trip instead of pretending it is a full sightseeing day.

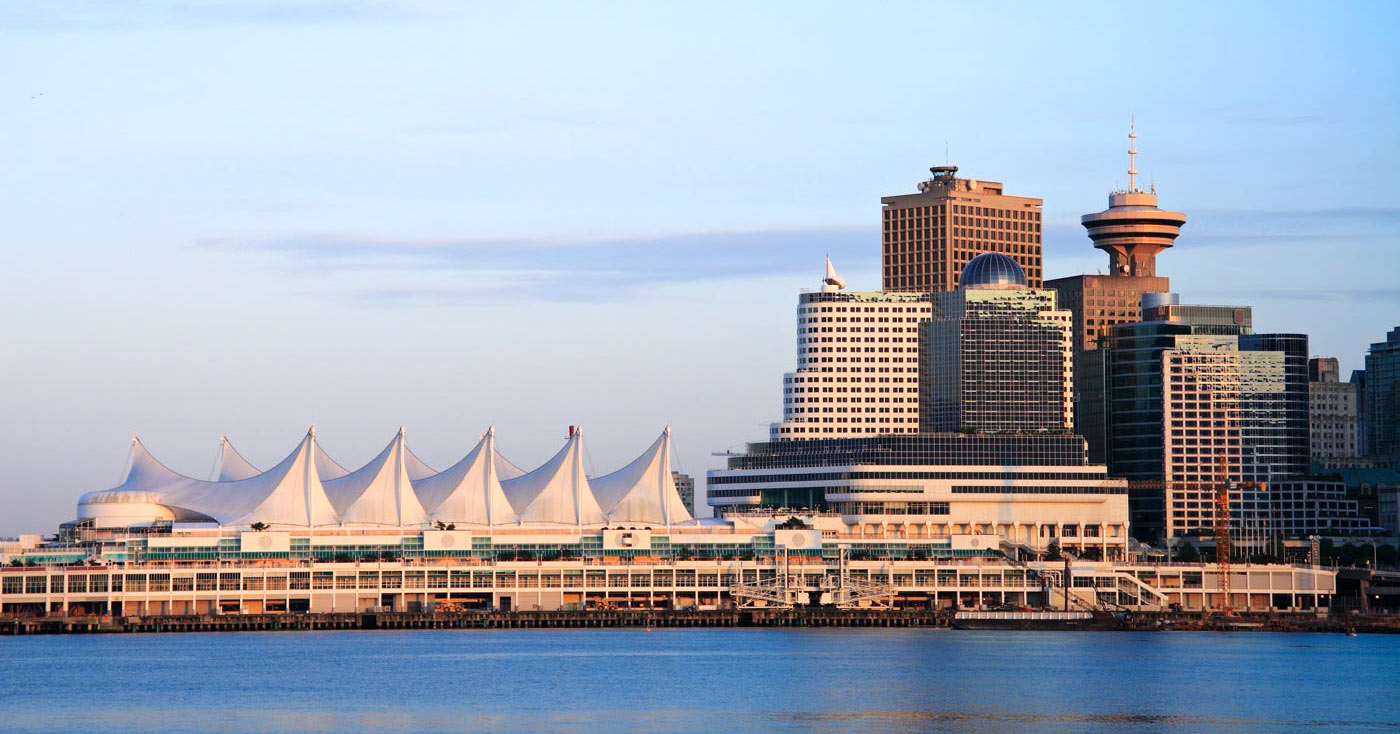
Day 2: Stanley Park, the seawall and Granville Island
Morning: Make Stanley Park the anchor. Choose a manageable portion of the seawall or an interior walking route according to the weather and your mobility. Allow time for viewpoints and the waterfront rather than treating the park as a quick photo stop.
Afternoon: Continue to Granville Island for the public market, small shops and False Creek setting. Use current local transit or ferry information to decide how to connect the two areas. Museum of Anthropology, beaches or another neighbourhood can replace Granville Island, but adding all of them would make the day fragmented.
Evening: Collect the rental car only if an early Day 3 departure makes that genuinely easier. Confirm parking at the hotel before doing so.

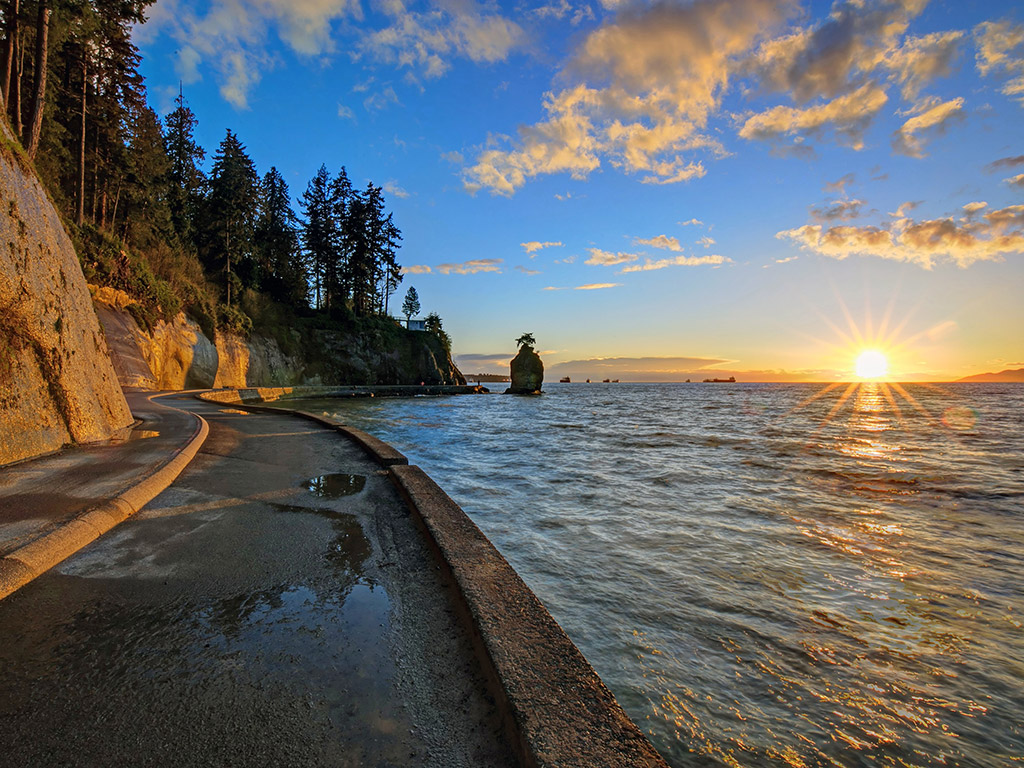
Day 3: Drive the Sea-to-Sky corridor to Whistler
Morning: Leave Vancouver after the commuter peak if conditions allow. The road to Whistler is part of the trip, so select one meaningful stop around the Squamish/Sea-to-Sky corridor rather than attempting every waterfall, lookout and attraction mentioned online.
Afternoon: Arrive in Whistler, park once and explore the pedestrian village. If you want a cultural component, check the current programme and admission arrangements of the Squamish Lil’wat Cultural Centre. If the group prefers scenery, use a short valley walk instead.
Practical note: road conditions, wildfire impacts, winter equipment rules and attraction operations can change. Tourism Whistler’s current transport guidance and provincial road information should override this itinerary.

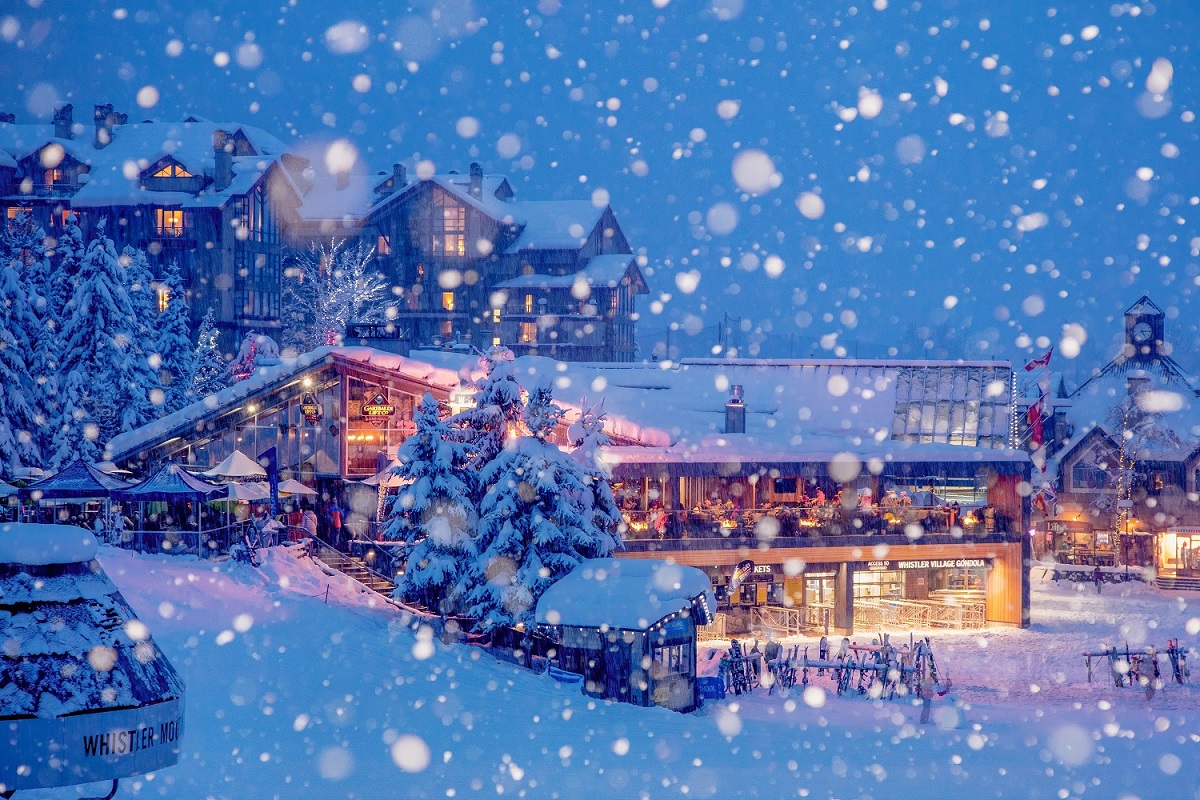
Day 4: Whistler morning, then the long transfer toward Clearwater
Morning: Choose one seasonal Whistler experience. That might be a mountain-access activity, a valley trail, or an unhurried village morning. Do not build the day around a lift or trail until its operating status and the weather have been checked.
Afternoon: Begin the long drive toward Clearwater/Wells Gray. This is a transfer across changing terrain, not a day for collecting roadside attractions. Confirm the exact route, fuel opportunities and current road conditions before departure, especially outside the main summer period.
Evening: Check in near Clearwater and decide the next morning’s waterfall sequence using the latest BC Parks advisories. Avoid adding a late trail after a long drive.

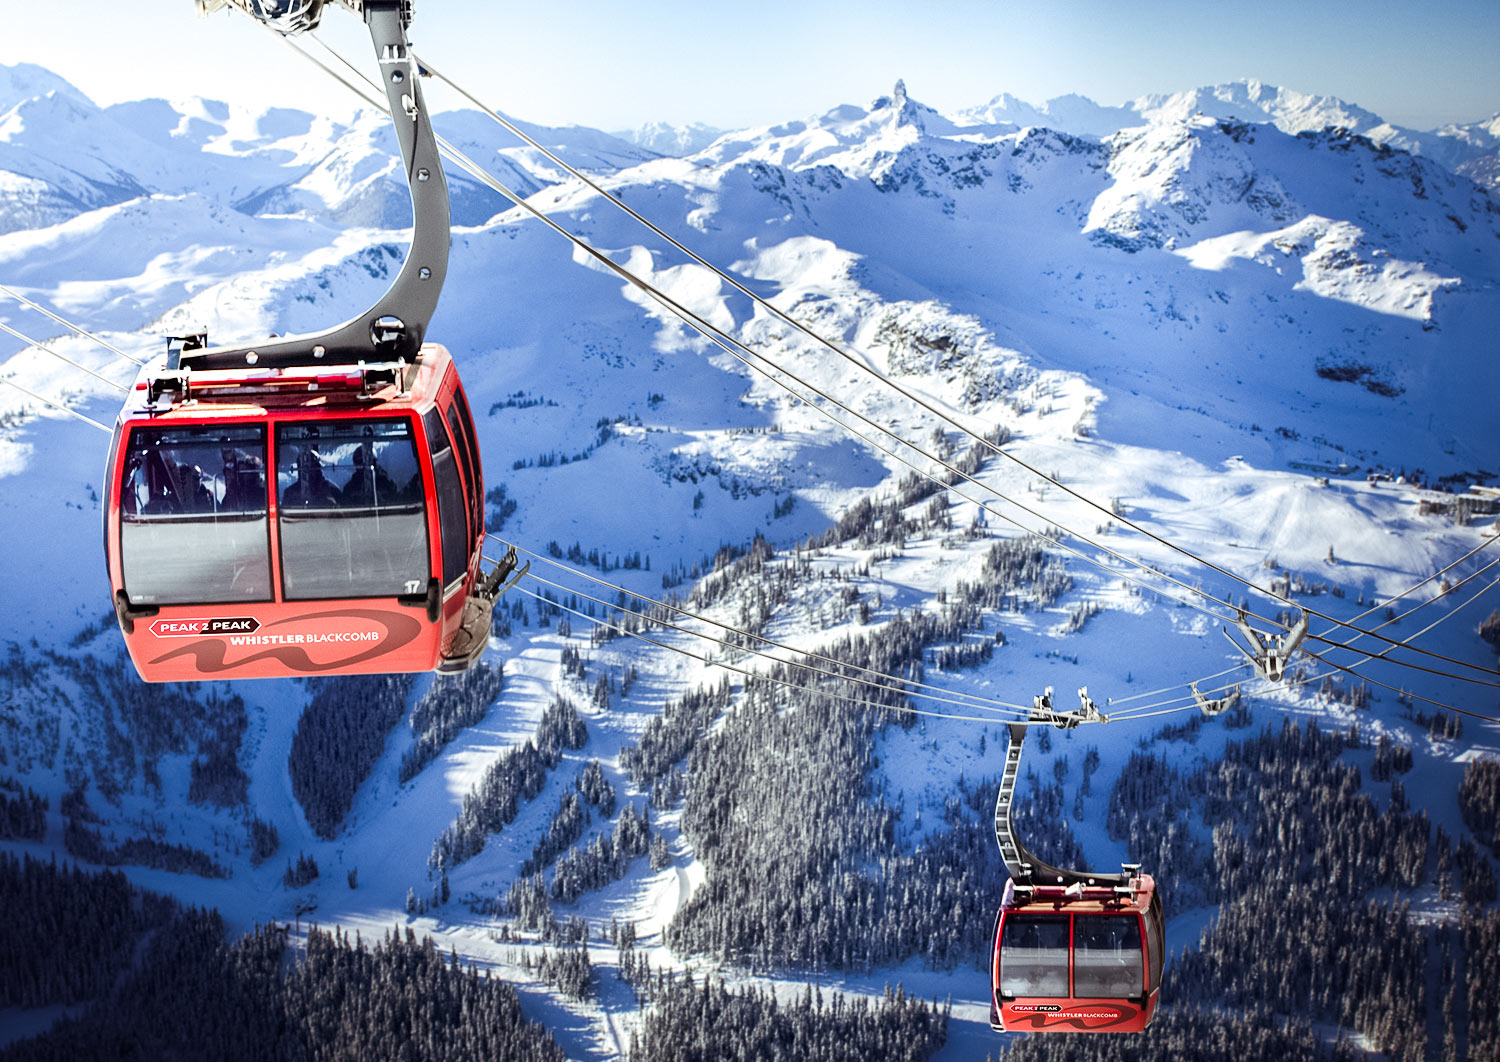
Day 5: Wells Gray waterfalls, then continue toward Jasper
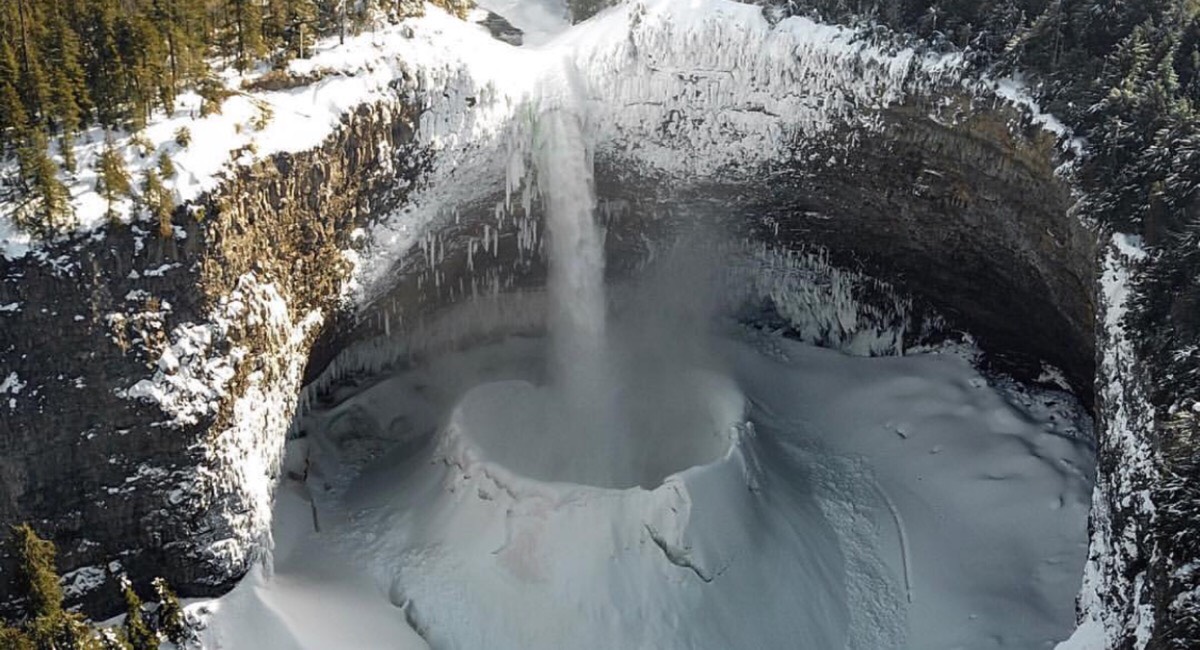
Morning: Use the Wells Gray corridor for a focused waterfall visit. BC Parks identifies Helmcken, Dawson and Spahats among the park’s visitor sights. Select stops that fit current trail conditions, available time and the group’s walking ability; viewpoints are not a substitute for checking park advisories.
Afternoon: Continue toward Jasper. This is another significant driving section, so lunch, fuel, wildlife-related slowdowns and photo stops need time. Do not promise a fixed Jasper arrival hour in evergreen content.
Evening: Settle into Jasper and use the Parks Canada visitor information to confirm the following day. Keep dinner and the evening close to the townsite.

Day 6: A full Jasper National Park day
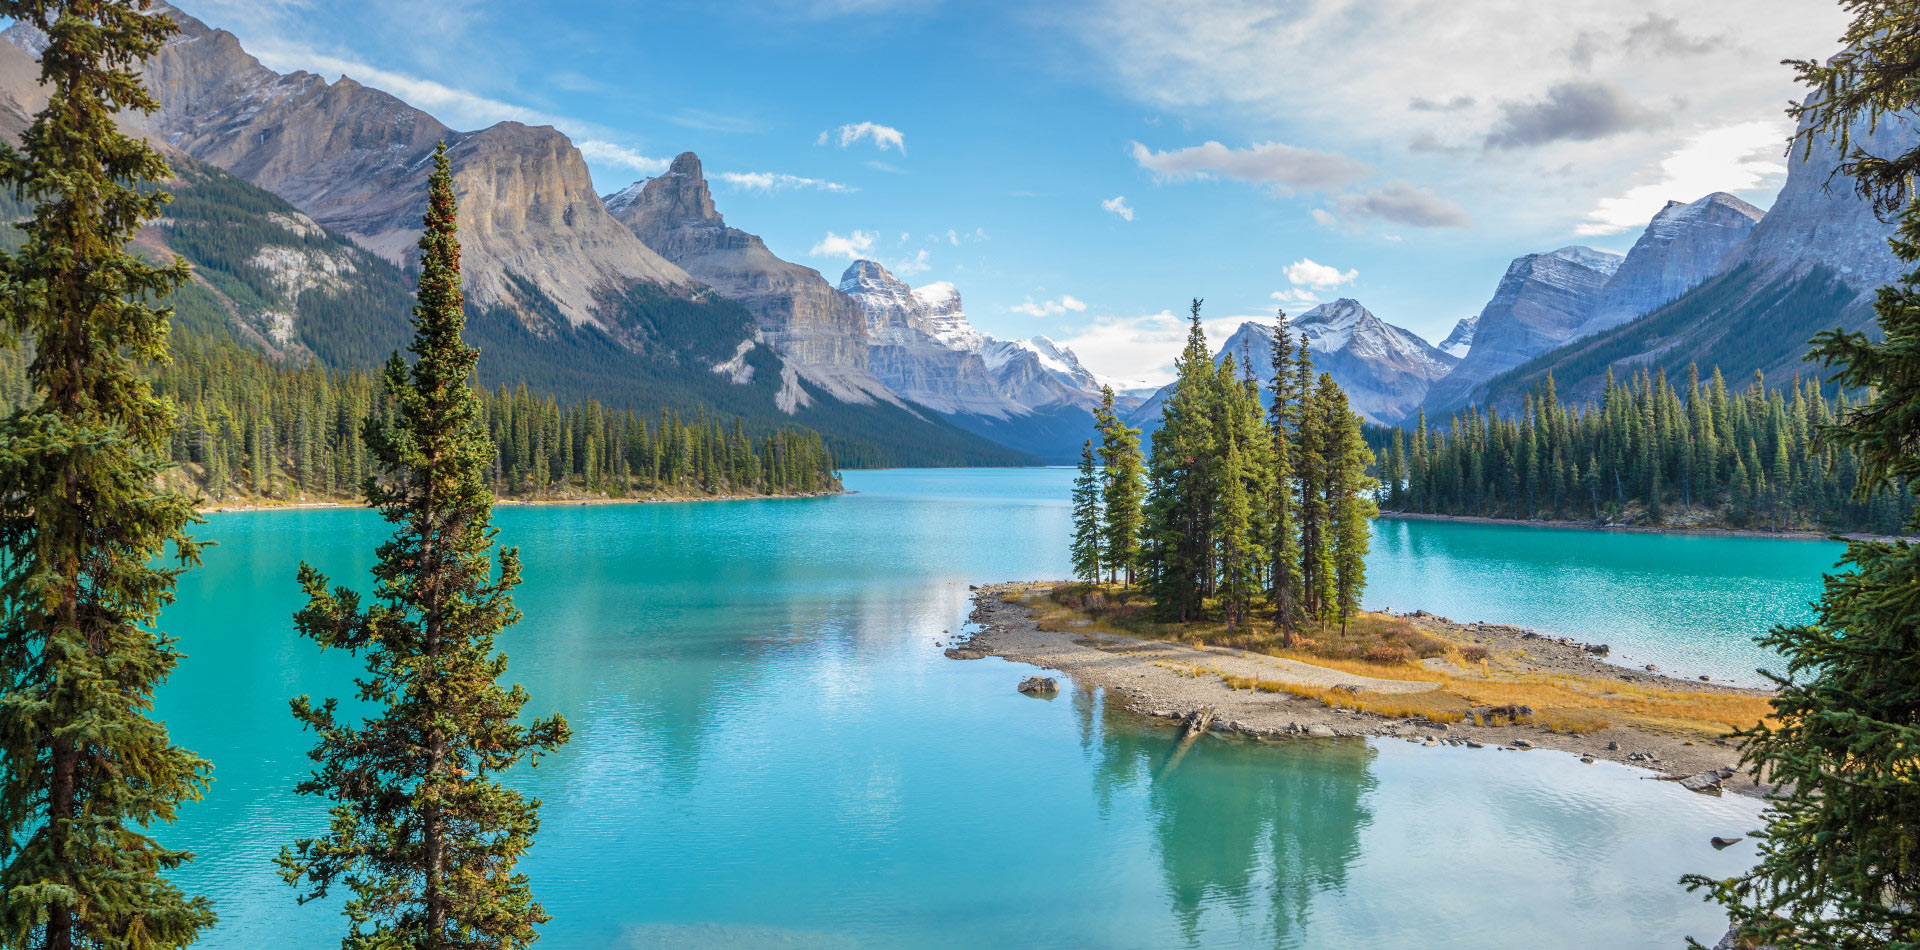
Morning: Choose one main landscape area based on current access. A Maligne-area day, a waterfall-and-river sequence, or a shorter set of viewpoints can each work; trying to combine every famous Jasper stop generally creates more driving than enjoyment.
Afternoon: Continue the same geographic theme. If you selected a longer walk or booked activity, make that the day’s centrepiece. If access or weather disrupts the plan, use a shorter townsite-adjacent alternative rather than driving farther to “make up” the list.
Before bed: download the next day’s route information, check weather and road conditions, and prepare food and fuel. Parks Canada notes that the Icefields Parkway has limited services and no cell coverage.

Day 7: Drive the Icefields Parkway to Lake Louise
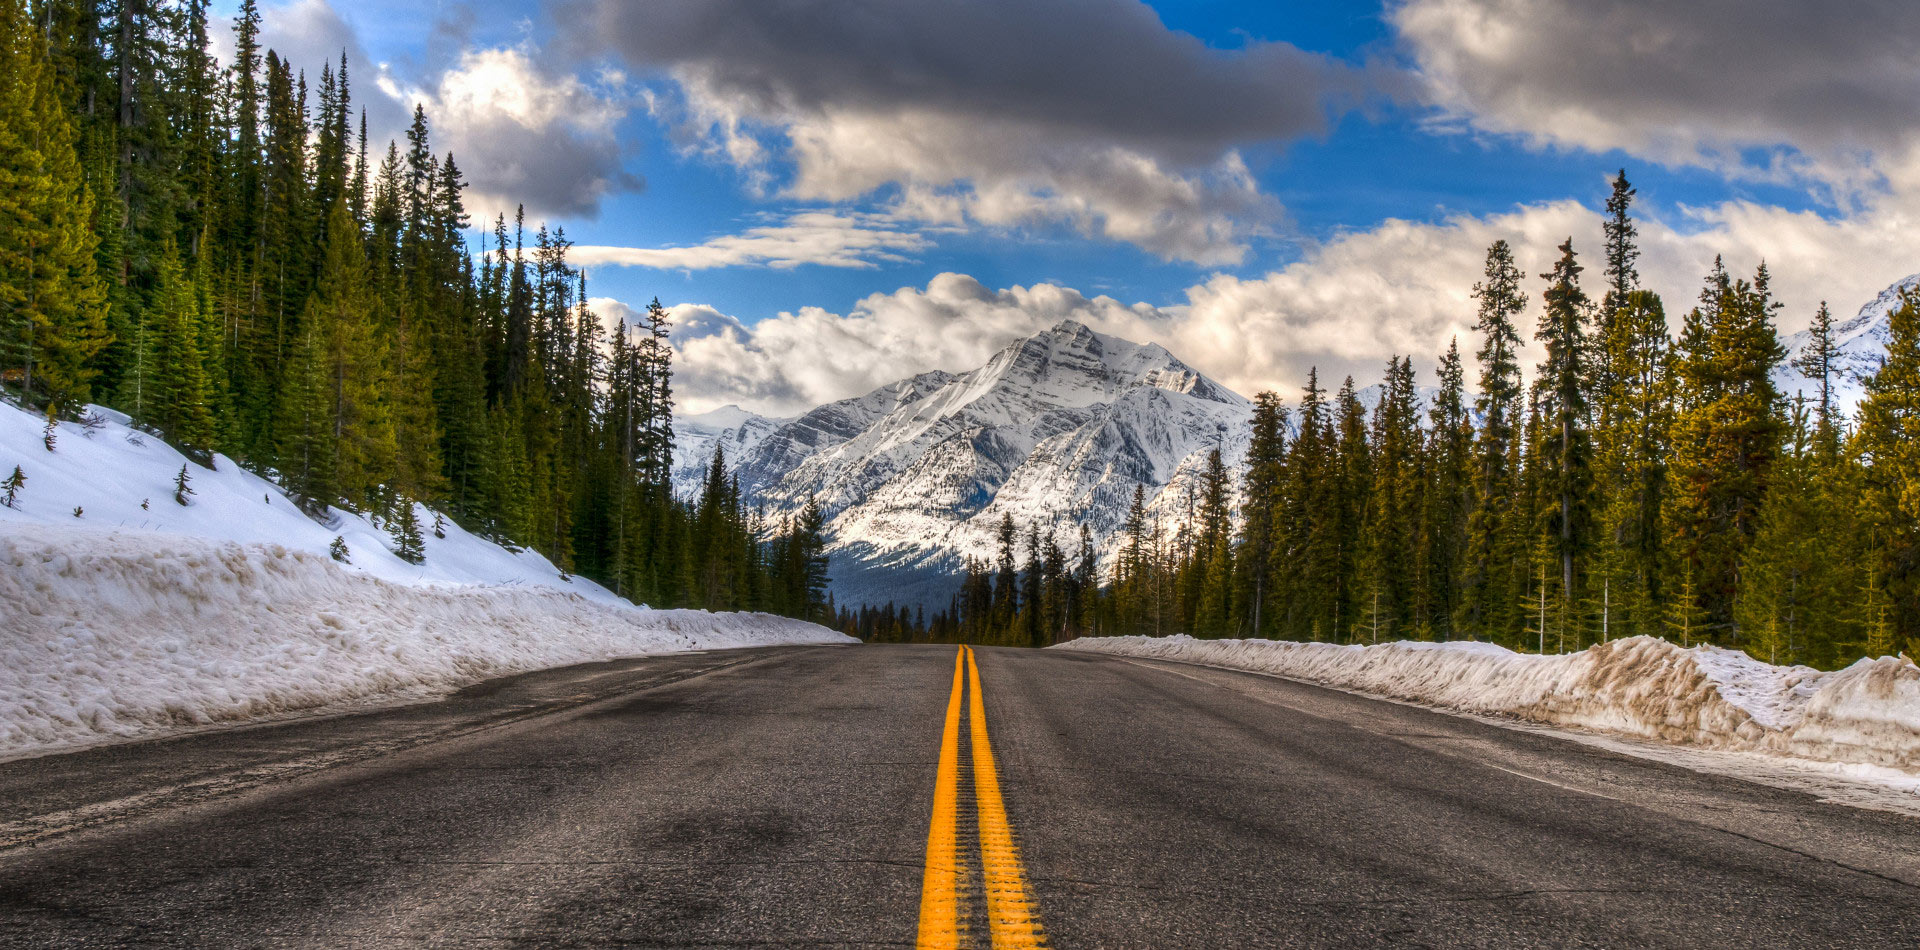
All day: Treat the Icefields Parkway as an experience, not a transfer to finish quickly. Parks Canada describes the route between Jasper and Lake Louise as approximately 232 kilometres through a remote mountain corridor. Choose a limited number of safe roadside viewpoints or short walks based on the official route guide, closures and available daylight.
What to prepare: obtain the required park pass, check 511 Alberta and the weather, carry food and water, and do not depend on mobile service. Wildlife, traffic and changing mountain conditions can extend the day.
Evening: Check in near Lake Louise or your selected Banff-area base. Do not add a distant evening attraction after the parkway drive.
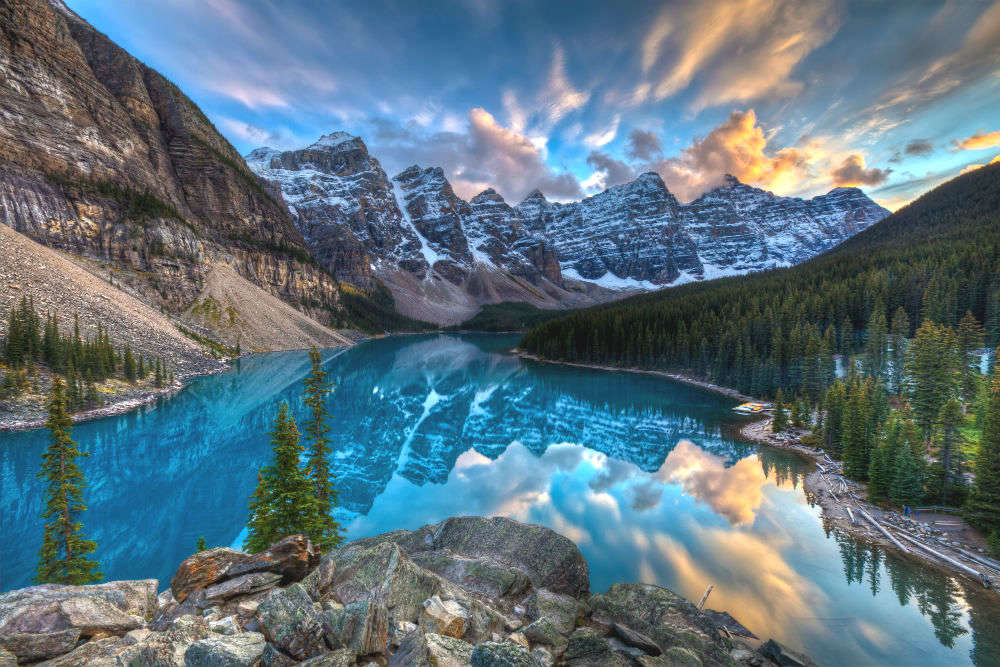
Day 8: Lake Louise and Moraine Lake planning day
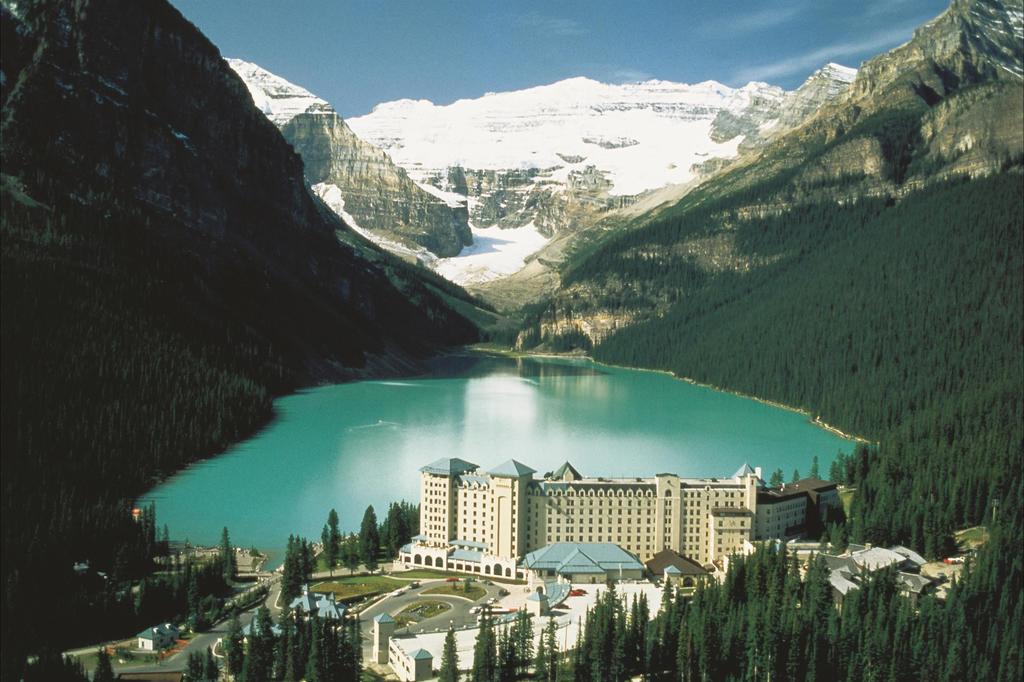
Morning and afternoon: Build the day around the access arrangement you actually secured. Parks Canada states that Moraine Lake Road is closed to personal vehicles and that shuttle planning can be essential. A confirmed shuttle time, seasonal operation and current trail status should determine the order.
Choose depth: spend meaningful time at one lake and add the second only when confirmed transport and the group’s energy allow it. Visitors interested in hiking should choose a route from current official trail information; a general itinerary cannot guarantee that a trail is open or suitable.
Bad-weather alternative: use a shorter lakeside visit, visitor-centre stop or a Banff-townsite activity. Do not represent unsafe or closed mountain access as a minor inconvenience.

Day 9: Banff townsite and one surrounding landscape
Morning: Start with the Banff townsite and choose one nearby landscape or booked experience. Bow River/Bow Falls, a current park interpretive stop, or a seasonal gondola-style activity are examples of different days—not a checklist that must all be completed.
Afternoon: Keep the second half flexible for weather, a missed Lake Louise item, or a slower walk. If your Calgary flight is early on Day 10, move closer to the airport this evening and treat that decision as part of the itinerary.
Editorial limitation: Banff is busy and operational details change. Parking, shuttle, road and trail information must be checked with Parks Canada immediately before travel.

Day 10: Calgary and departure
If the flight is early: go directly to the airport and return the rental car with enough buffer for fuel, inspection and terminal procedures. Do not schedule Banff sightseeing that puts the flight at risk.
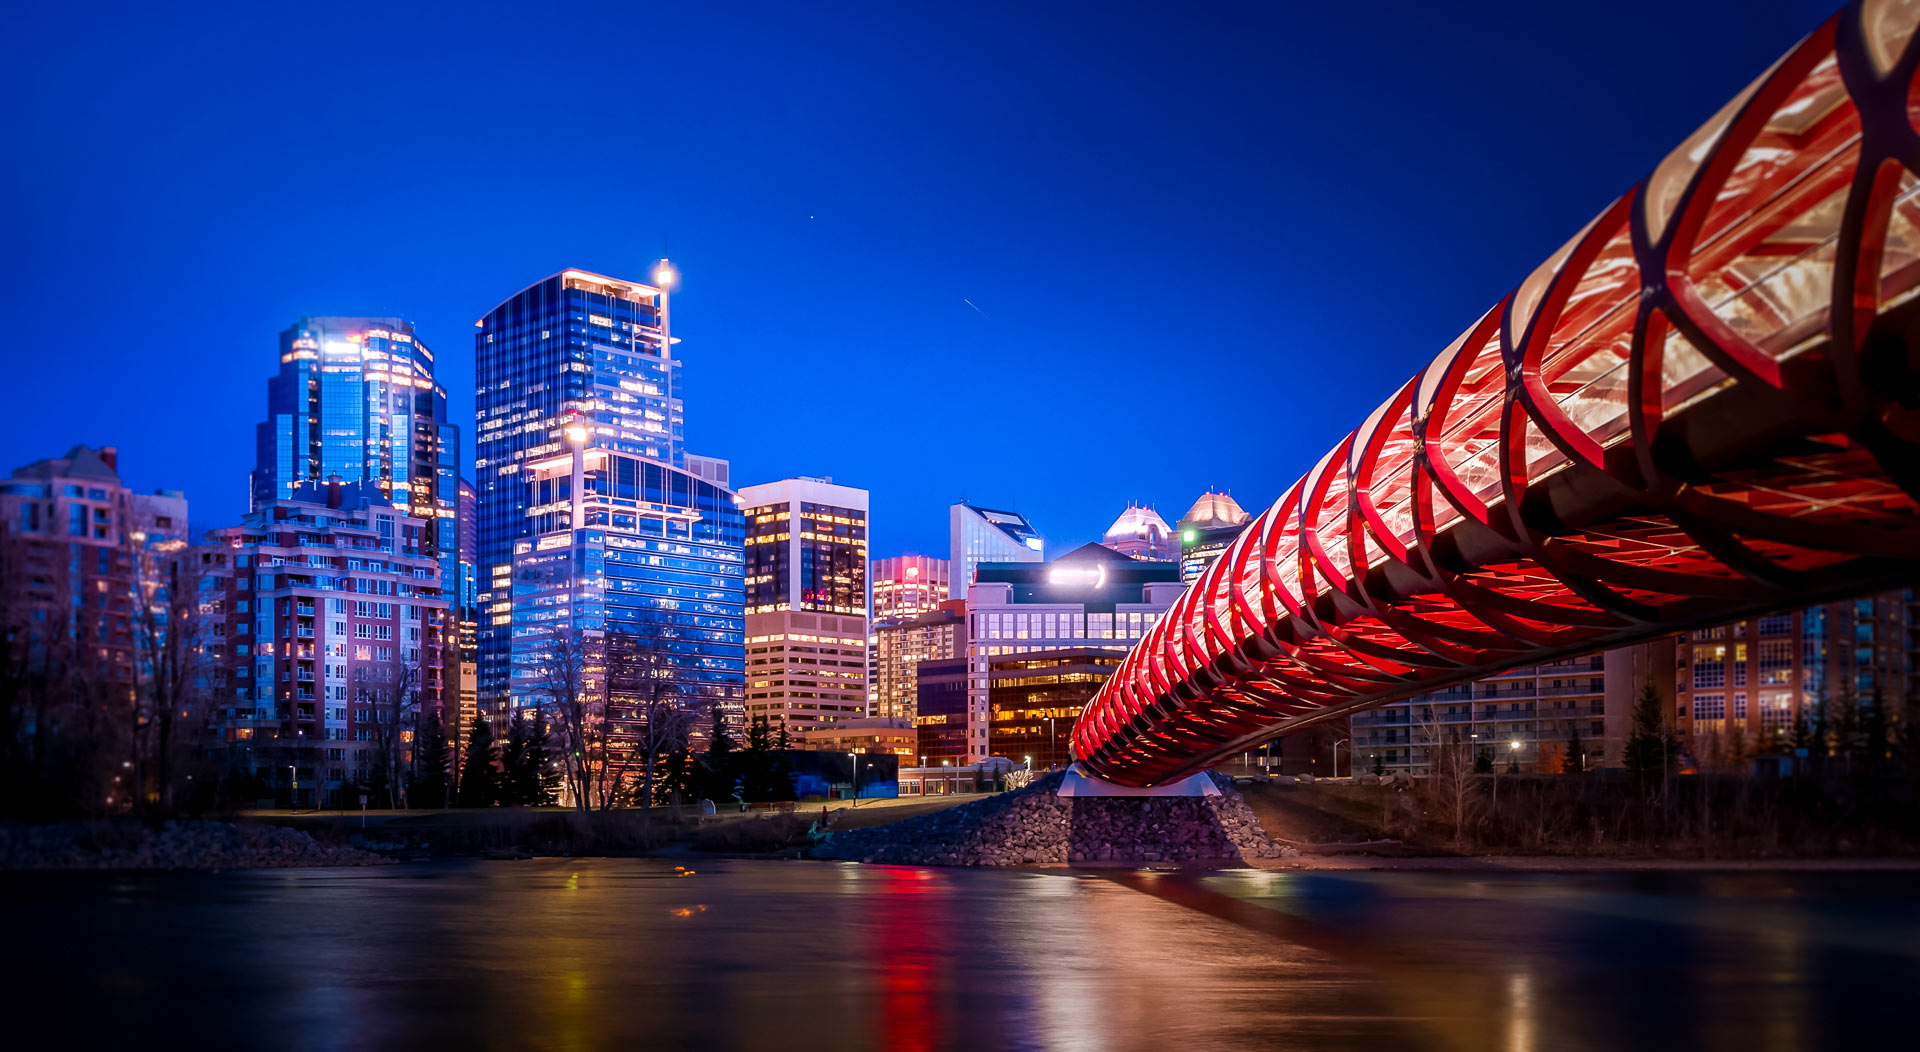
If the flight is later: one compact Calgary stop can work. Choose a downtown river walk, a museum with confirmed hours, or a meal rather than attempting several attractions across the city. Keep luggage and airport-transfer logistics explicit.
What this route leaves out: Vancouver Island, the Okanagan and a deeper Banff/Jasper hiking programme. Those require more days; acknowledging that makes this ten-day itinerary more trustworthy.

Before booking this western Canada route
- Price an open-jaw flight into Vancouver and out of Calgary, plus any one-way rental-car fee.
- Confirm the longest driving days before choosing non-refundable hotels.
- Use BC Parks for Wells Gray and Parks Canada for Jasper, the Icefields Parkway, Lake Louise and Banff.
- Reserve park accommodation, shuttles and seasonal activities only through current official or verified operator information.
- Keep at least one flexible activity that can be swapped for weather, smoke, road disruption or fatigue.
Accommodation: pick the job of each stay
- Arrival-city stay: prioritise a practical arrival and next-morning departure, not a generic “best hotel” claim.
- Mountain gateway/base: prioritise your confirmed transport and the next day’s park plan.
- City-centre stay: prioritise walkability or transit for the places your route actually includes.
The options below are organised by overnight stop and itinerary fit. Property details and availability can change, so check the current listing before booking.
Hotel links may be compensated; recommendations are based on location and itinerary fit.
Where to stay in Vancouver (Days 1–2)
- Samesun Vancouver — retain this as the budget and social option for travellers who want to explore central Vancouver without a car.
- The Sylvia Hotel — a logical fit when Stanley Park and the English Bay side of the city are the priorities.
- Blue Horizon Hotel — suited to travellers who prefer a Robson Street base with dining, shopping and downtown sightseeing nearby.
- The St. Regis Hotel — a central-city choice for a short stay where walkability and simple onward transport matter more than resort facilities.
Where to stay in Whistler (Day 3)
- Summit Lodge Boutique Hotel Whistler — useful for travellers wanting a village-style base and the convenience of studio-style accommodation.
- Pan Pacific Whistler Mountainside — prioritise this option when quick access to Whistler’s main mountain and village activity area is important.
- Four Seasons Resort Whistler — the full-service luxury option for travellers who want the hotel itself to be part of the mountain stay.
- Whistler Lodge Hostel — a budget-conscious option for travellers comfortable with hostel-style or shared accommodation.
Where to stay near Wells Gray Park (Day 4)
- Wells Gray Inn — a practical overnight choice for positioning the group near the Clearwater approach before the waterfall day.
- Gateway B&B — better suited to travellers who prefer a smaller, homestyle stay over a conventional roadside hotel.
- Stoneshire Guesthouse — consider this for extra living space and a more self-contained overnight near Clearwater.
Where to stay in Jasper (Days 5–6)
- Chateau Jasper — a conventional full-service base for travellers who value hotel facilities after long road and park days.
- Mount Robson Inn — suited to a road-trip stay where straightforward access to Jasper townsite is the main requirement.
- Best Western Jasper Inn & Suites — useful for families or groups who prefer suite-style options and additional space.
- Fairmont Jasper Park Lodge — the resort-led option for travellers willing to spend more time at the property and less time in the townsite.
- Jasper Downtown Hostel — the budget-oriented choice for travellers comfortable with hostel facilities and a central town base.
Where to stay around Lake Louise and Banff (Days 7–9)
- Paradise Lodge and Bungalows — a location-led option for travellers centring the next day on the Lake Louise area.
- Baker Creek Mountain Resort — suited to travellers looking for a quieter, cabin-style mountain stay rather than a town-centre hotel.
- Fairmont Chateau Lake Louise — the landmark, location-first choice when direct Lake Louise surroundings are worth the premium to the traveller.
- HI Lake Louise Alpine Centre — a budget and hostel-style alternative in an otherwise expensive accommodation area.
Where to stay in Calgary (Day 9 or Day 10)
- Wicked Hostels Calgary — a budget and social option for travellers who need only a simple final city night.
- Lakeview Signature Inn — an airport-oriented option for a final night; check the current property name, location and facilities before booking.
- Hotel Elan — a neighbourhood-base option for travellers who prefer to stay outside the busiest downtown blocks; check the current listing before booking.
- Le Germain Hotel Calgary — the central, higher-service option when the final evening includes downtown Calgary rather than only an airport transfer.
When this is the wrong itinerary
Choose a longer Canada trip if you want both the Rockies and eastern cities without internal flights. Choose one province or region if you want hiking, skiing, family pacing, or a lower-stress budget. A useful ten-day plan makes these limits visible before someone books.
Official planning sources
Park access, road conditions, entry rules and transport arrangements can change. Check these official resources close to your travel date: